I’m so thrilled to be a stop on the Let’s Get Acquainted Blog
Hop today! Beth of
Plum and June has been amazing about putting this whole thing together,
and I’m excited to get to know more about some of my favorite bloggers this
summer. Be sure to stop by to see Amy of
Amy's Crafty Shenanigans today too. She's got some great projects on her blog -- I love the Savana Bop quilt she just made for the Siblings Together charity! And also don't forget to check out Beth's blog entry from yesterday for a great
interview with Deborah of
Whipstitch along with a pretty fabulous giveaway...
 |
| A few of my favorite projects from 2012 |
For those of you who are visiting for the first time,
welcome to Fabric Mutt! Sewing has been a new adventure for me this past year.
After being a teacher for nine years and an assistant principal for one, I
decided to become a stay-at-home mom in 2009. It was a big change for me after
working since I was a teenager, and it took a while for me to find my balance.
When my mom brought a new sewing machine into our home last fall, she opened up
a whole new world to me. I immediately began looking for inspiration on the web, and I
was amazed at the treasure trove that I found in the online quilting community.
By the end of December 2011, I decided to start Fabric Mutt as a way to share
my projects with my out-of-state family as well as track my own progress. It’s
been incredible to connect with so many other bloggers who share my love of
sewing!
I live in a busy Southern California household. My husband
and I bought a home with my parents four years ago, and we also share the space with our
three little girls, affectionately known as Bunny (5), Bear (3), and Mouse
(1½). It’s a fantastic situation for us, and we enjoy lots of family time
together. With all of the chores and child care involved in daily life, sewing
doesn’t always happen as easily as I’d like it to, but I manage to fit it in as
I go along.
Beth gave us a great list of questions to answer, so here we
go…
How long have you been quilting? About 7 months. It feels like
it’s been a lot longer than that to me!
Favorite quilting tips? Don’t be afraid to try anything. I feel
like I’ve gone through a series of terrors in my sewing – afraid to try making
my own binding, to put in a zipper, to try paper piecing, etc. If you’re afraid
of it, then make yourself do it. I usually find that it’s not nearly so awful
as I thought it was, and each accomplishment opens up a new world of
projects that you can do.
Favorite blogging tips? 1) Be yourself – it’s your blog, after
all, and no one else’s. 2) Get involved
with the online quilting world – linky parties, swaps, sew alongs, etc. This is
how you meet people and how they meet you -- however… 3) Don’t overbook
yourself. If you try to join every single event happening in blogland, you will
eventually burn out…trust me on this one.
Favorite fabric? I love anything by Kate Spain, Melody Miller,
Heather Ross, Denyse Schmidt…how many favorites am I allowed to have?
Favorite craft book? Zakka Style by Rashida Coleman-Hale. It’s
changed my sewing forever.
Favorite book? A Voice in
the Wind by Francine Rivers
Favorite children’s book? The
Chronicles of Narnia by C.S. Lewis or The
Little House books by Laura Ingalls Wilder
Favorite quilting tool?
My rotary cutter
Favorite music to listen to while quilting?
Usually jazz, swing, or the local Christian radio station
Favorite
TV show while hand stitching:
Psych
Binding
- by hand or by machine? By hand…it’s a ton of work, but it looks so
beautiful when you’re done!
If
I'd only known - what you wish you knew about blogging before you started your
blog: Don’t lose your joy in pursuit of perfection. It’s easy to feel discouraged
because your numbers aren’t as big as someone else’s, because you’re not
getting packages of free fabric from designers, or because your quilts don’t
look as perfect as the other ones in the linky party. You have to start
somewhere, just like everybody else did. And hey, this is supposed to be fun!
So . . . on to the tutorial portion of the post! I've been experimenting a lot lately with different types of bags, pouches, and portfolios after doing the projects in
Zakka Style as well as a
portfolio pattern from the upcoming
Pretty in Patchwork: Holidays. That experimentation led me to today's project: the Quiet Pack.

Every summer we take a road trip to visit my parents-in-law in Arizona. The visit itself is always fantastic, but eight hours in the car with three little girls? Not so much. This year I intend to be well armed with entertainment for the kids, and I thought a helpful tool might be some Quiet Packs. These are really just simple portfolios equipped with some cloth "toys" and space for picture books. Some people like to add room for a pad of paper and crayons, but I don't let my girls have crayons in the car anymore ever since the time Bunny drew all over the inside of our old Corolla with a green crayon . . . not a day to remember fondly, believe me. The great thing about this project, though, is that you can customize it in so many ways. Sew a few extra seams down the pockets, and you've got slots for crayons (if your kids are more trustworthy than mine). Add some velcro pieces to the inside, and you have a portable tic-tac-toe game. Hey, use a grown up fabric and make a pack for yourself! The tutorial is just a jumping off point...make this project whatever you want it to be.
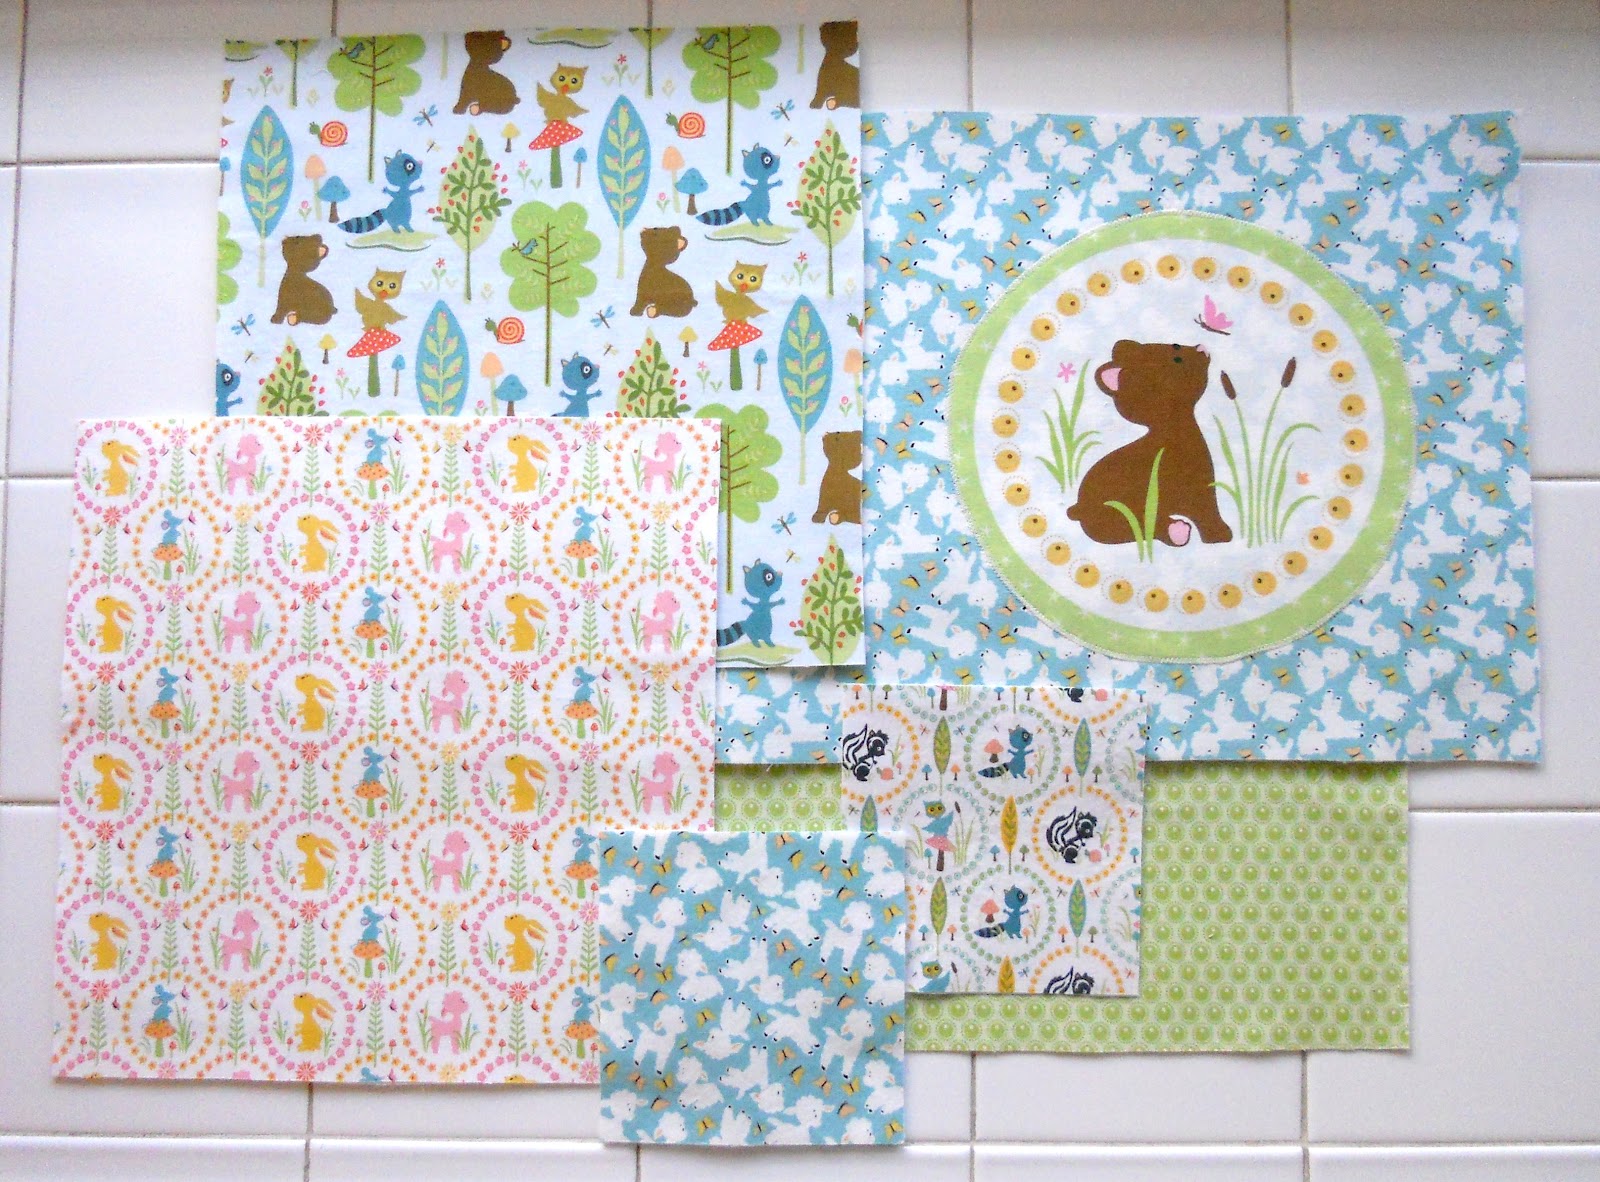
For my fabric, I used the Woodland Tails collection by Sheri Berry Designs for Riley Blake. It's not only adorable, but it features the three animals that represent my daughters' nicknames: Bunny, Bear & Mouse. I'm using the large round pictures from the cheater quilt print as decorations for the outside of each pack so that my girls can quickly see which pack belongs to them. Use a quarter inch seam allowance for all sewing unless I mention otherwise. Okay, let's get this party started!
Gather your materials:
- About 1 yard of material (make it 1.25 if you want to be safe -- I always like to have a little extra on hand in case of mistakes) in a variety of different prints -- your design, so you get to choose!
- fusible batting (I used Fusible Thermolam Plus)
- fusible interfacing (I used Pellon 809 Decor Bond)
- 4.5" strip of sew-in velcro
- fabric glue stick (not required, but definitely helpful)
- coordinating thread
1. Cut out your pieces:
- exterior: 23.5 x 12" print and 23.5 x 12" fusible batting
- interior: two pieces of 12 x 12" print and two pieces of 12 x 12" fusible interfacing
- inside pocket: 23.5 x 9" print and 23.5 x 9" fusible interfacing
- flap: two pieces of 5.5 x 5.5" print (these can be the same fabric or two different prints -- your choice), one piece of 5.5 x 5.5" fusible batting for the exterior flap, and one piece of 5.5 x 5.5" interfacing for the interior flap
- fabric for exterior decorative applique (optional)

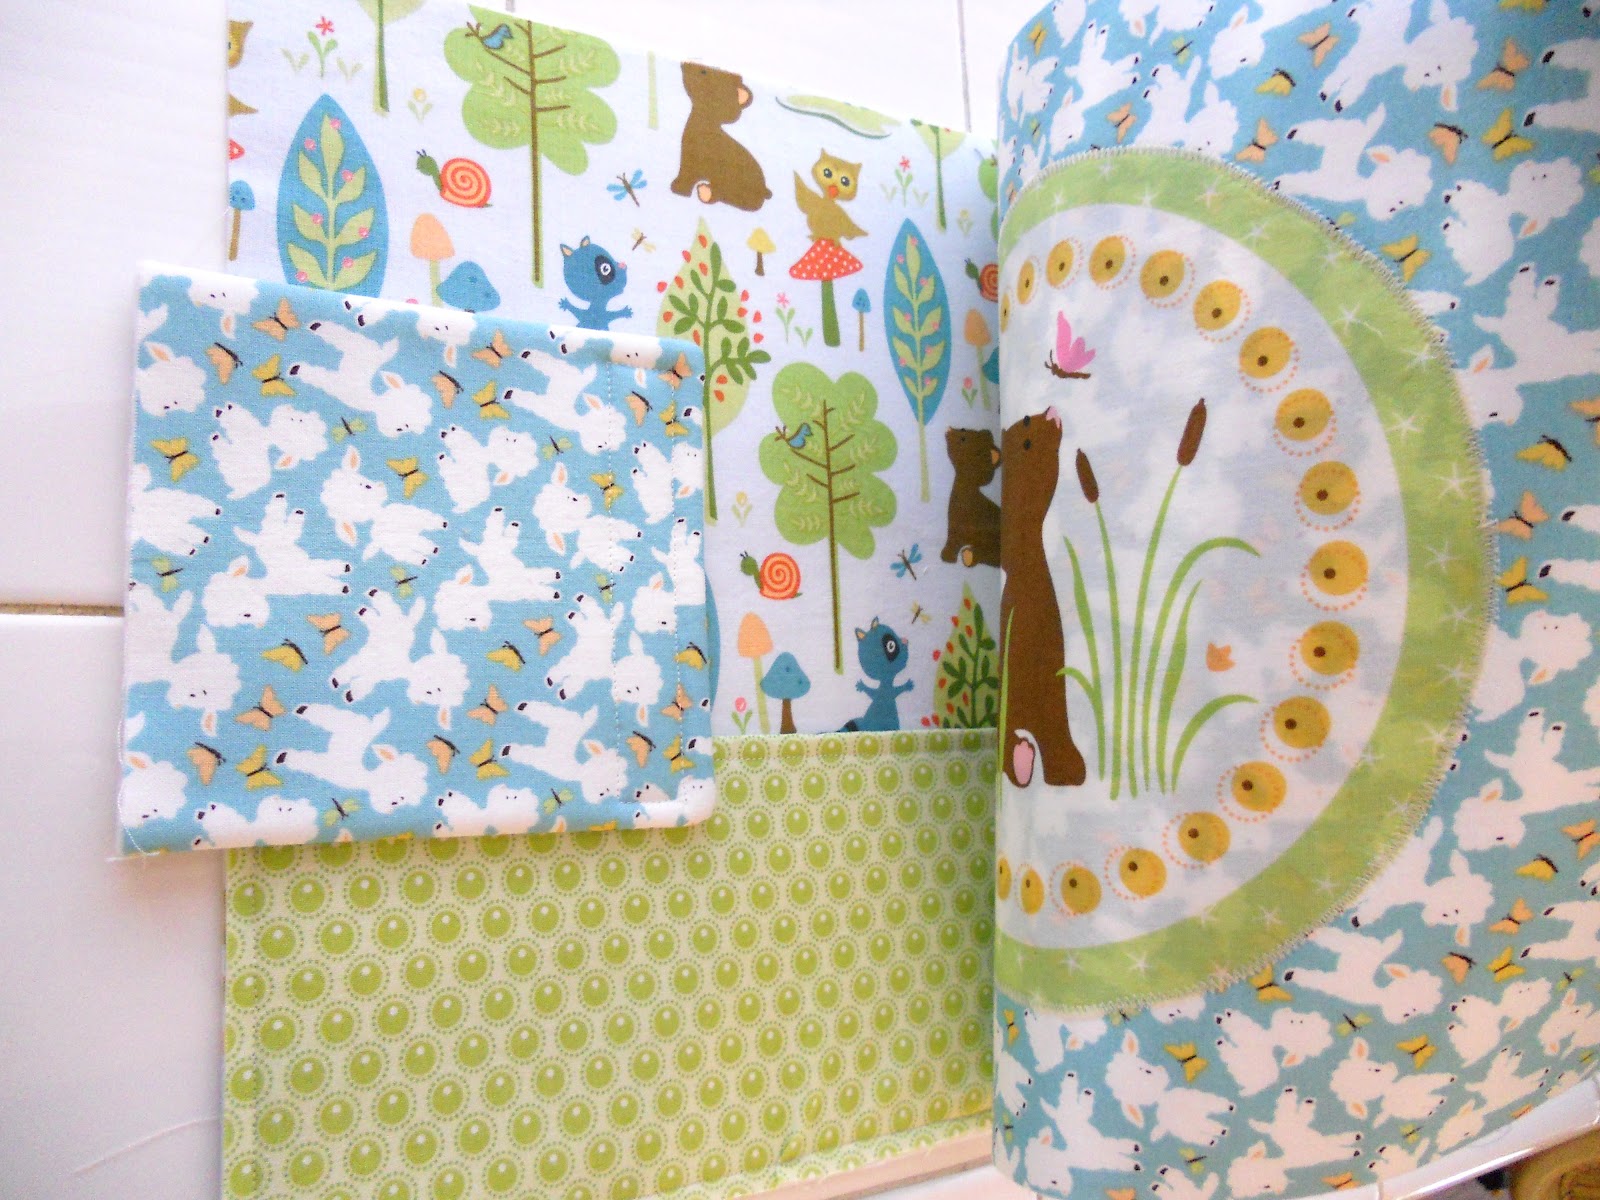
2. Use a zig zag stitch to applique the decoration to the exterior of your pack (I often use fabric glue to hold it in place before I start sewing). I just folded the exterior fabric in half, centered the circle on the front, and then moved it slightly to the left to account for the seam allowance around the outside. I also went around the circle twice to be sure that it was firmly attached since this is such a large piece of fabric, and I know it's going to get a lot of use.
3. Fuse all pieces of fabric to their appropriate backings (see the information under step one).
4. Place the interior pieces with their right sides together and stitch along the center line. Unfold them and press the seam allowance open.
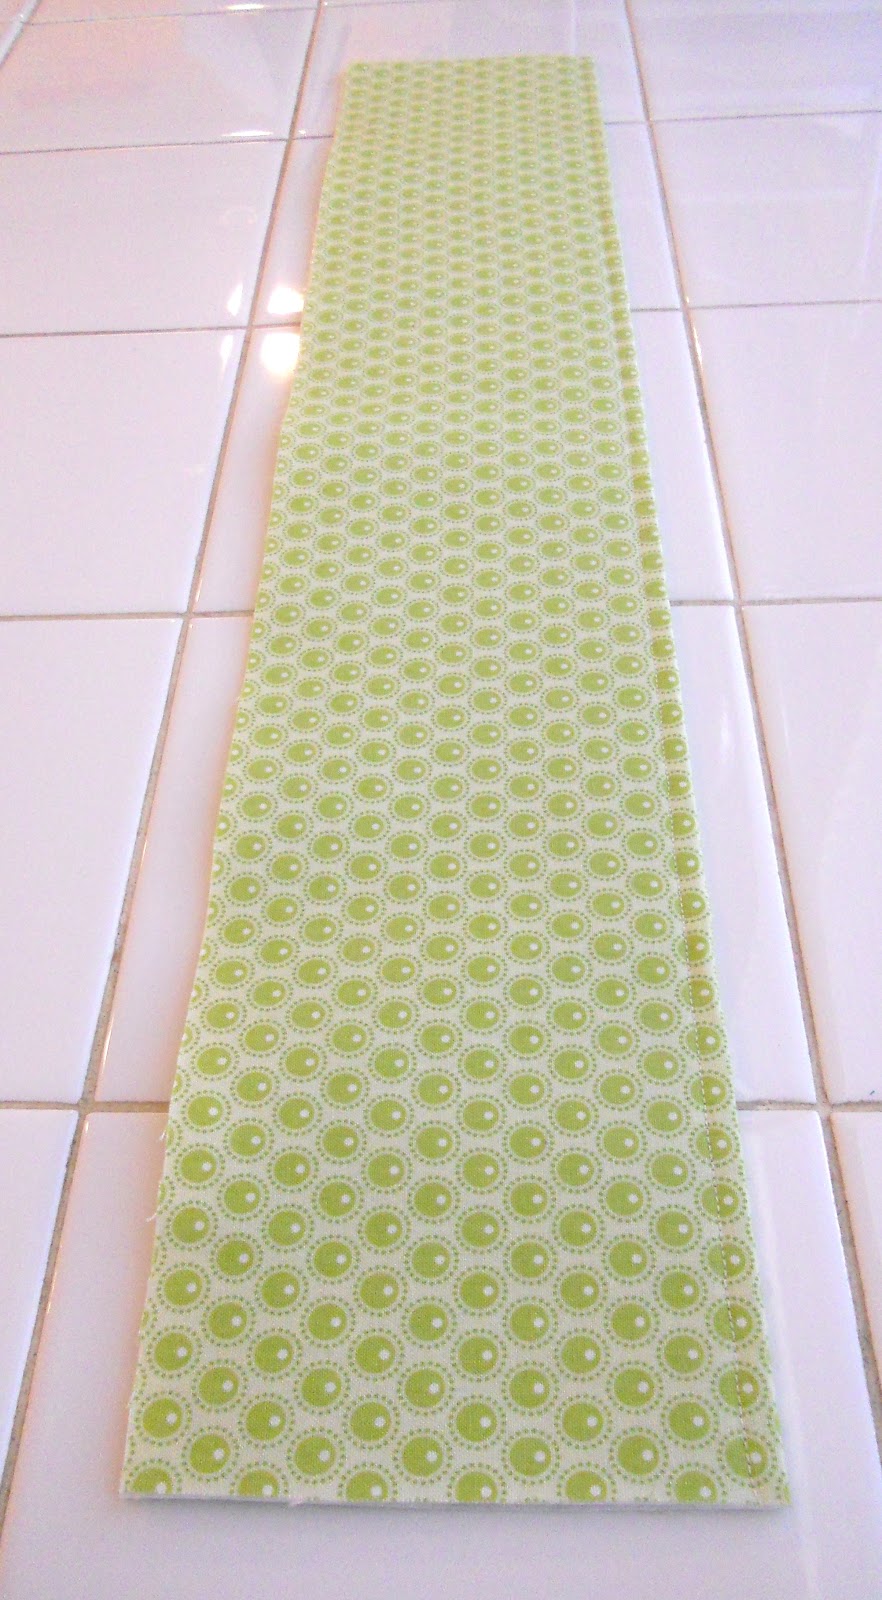
5. Fold the fabric for the inside pocket in half length wise, press, and top stitch about a quarter inch away from the fold.
6. Pin the pocket in place along the bottom and sides of the interior and stitch all along the matching raw edges of the pocket to secure it in place. Then sew straight down the middle of the pocket to create two pockets.
7. Sew the two flap pieces together, right sides facing, along three sides -- being sure to leave the fourth side open.
8. Clip the corners, turn the piece inside out, push out the corners with a chopstick, and press.
Center half of your 4.5" velcro strip (I put the scratchier side on the flap, myself) on the end opposite the opening, leaving about a quarter inch around it on three sides. Secure it with fabric glue, then stitch all the way around the sides of the velcro once or twice.
9. Sew the other piece of velcro on the right side of the exterior piece, about an inch and a half from the short end opposite the decorative applique, stitching all around the velcro once or twice. I like to sandwich all the pieces together with the flap in place just to test out if everything is where it should be and make sure that the flap will actually reach the exterior velcro before I sew it down. (Just a note: I put my flap on this side so that it won't interfere with the design on the front. Feel free to put your flap on the other side if you prefer. In that case, just reverse the placement of the flap and exterior velcro.)
10. Sandwich the flap between the exterior and interior (right sides together), centering it on the short side with the applique. Be sure that the exterior side of the flap is facing the exterior's right side.
Let about an inch of the flap (the end with the opening), hang outside. Pin along all the raw edges.
11. Stitch a quarter to a half inch along all the raw edges of the pack, leaving an approximately five to six inch opening on the long side opposite the pocket for turning. Clip the corners and turn inside out, pushing out the corners with a chopstick.
Give the pack a nice pressing all over, turn the remaining open raw edges inside to match the sewn edges, and stitch an eighth to a quarter inch from the edge around the entire exterior of the pack. Turn the pack over and sew one final seam down the center fold of the interior, all the way down through the pocket.
12. If you like, you can make some little characters to go with your pack. I fussy cut 2.5" squares with an animal in the center of each one, fused them to interfacing, and then sewed them (right sides together) with a backing print along three sides. I turned them inside out, turned in the edges of the open side, and stitched all along the edge of each square.
My girls will play with these guys against the forest backdrop on the left interior of the pack, but you could easily use these pieces for a matching game, tic-tac-toe, etc.
You're done! Fill up your pack with goodies, and enjoy!
If you make a Quiet Pack of your own, be sure to link up with Monday's Let's Get Acquainted Linky Party at Plum and June so that we can all admire your beautiful work! Please be sure to leave me a comment letting me know if this is a helpful tutorial for you. I'd also love to hear what you think of Fabric Mutt -- the design, the photos, the content . . . comments and suggestions are always welcome here!
Thanks so much for stopping by today, and come back to visit again. I'd love to see you here!
Linking up to
Fabric Tuesday.