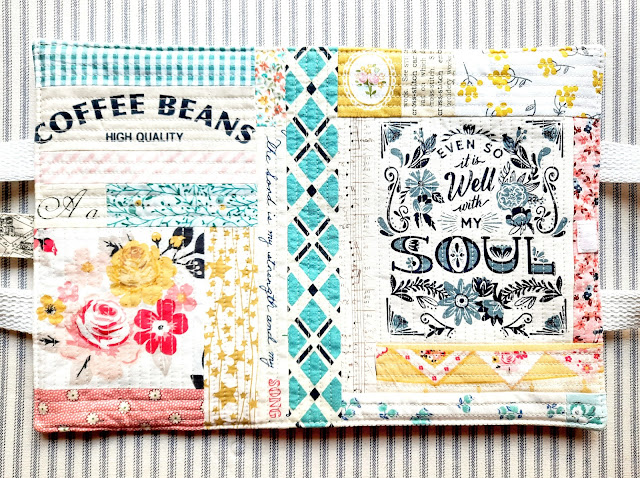
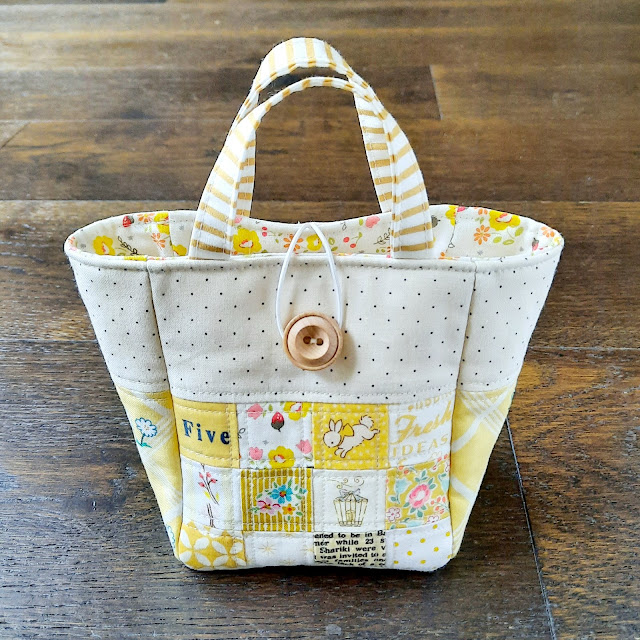
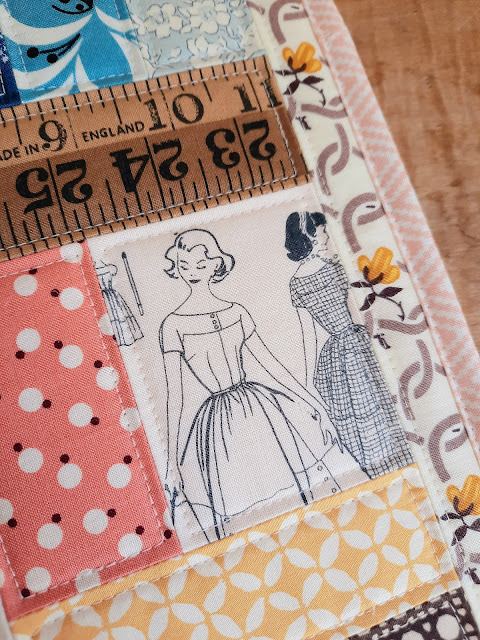
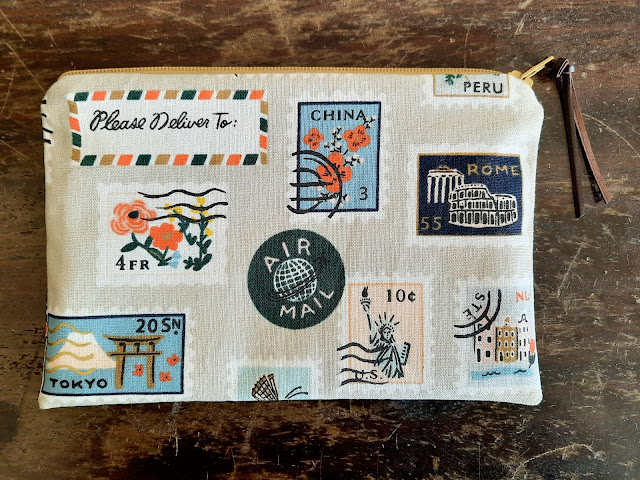
I love putting together themed gift bags and care packages for friends and family whenever I get the chance, and this tiny patchwork bag is perfect for that sort of thing. Pick a theme -- stationery supplies, beauty items, sewing notions, sweet treats -- and fill this mini tote to the top with small treasures. I find that aside from the winter holidays, late spring is usually the time when I most need gifts for Easter, birthdays, Mother's Day, and the inevitable celebrations as we head into summer.
It's always fun to make the bag itself part of the present, and you can customize the fabric you use for your patchwork squares to fit the recipient. If you need a whole lot of bags in a hurry, try replacing the patchwork panel on each side with a single fabric rectangle for faster sewing. I hope this hardworking little pattern will be incredibly useful to you in the months ahead!
The Darling Gift Bag Tutorial
Finished Size: 6 1/2" x 7" x 3" (including handle)
All seam allowances are 1/4".
Materials
From assorted scraps, cut...
- (12) red squares, 1 1/2" x 1 1/2" (A)
- (12) low volume squares with red accents, 1 1/2" x 1 1/2" (B)
*Note: for a faster project, replace all the 1 1/2" squares with 2 rectangles, 4 1/2" x 3 1/2", cut from the same feature print.
From 10" square of vintage floral red print, cut...
- (2) squares, 3 1/2" x 3 1/2" (C)
From fat eighth of low volume music print, cut...
- (2) rectangles, 4 1/2" x 2 1/2" (D)
- (2) rectangles, 3 1/2" x 2 1/2" (E)
- (1) rectangle, 4 1/2" x 3 1/2" (F)
From long scrap of red scallop stripe print, cut...
- (1) rectangle, 12 1/2" x 2" (G)
From fat quarter of batting, cut...
- (2) rectangles, 4 1/2" x 5 1/2" (H)
- (2) rectangles, 3 1/2" x 5 1/2" (I)
- (1) rectangle, 4 1/2" x 3 1/2" (J)
From low volume floral print, cut...
- (2) rectangles, 4 1/2" x 5 1/2" (K)
- (2) rectangles, 3 1/2" x 5 1/2" (L)
- (1) rectangle, 4 1/2" x 3 1/2" (M)
Additional supplies: button, 5 1/2" piece of thin white elastic cord, matching thread, adhesive basting spray, binding clips.
Directions
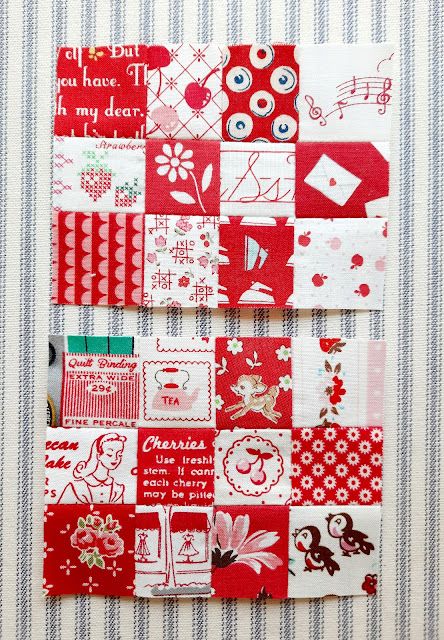
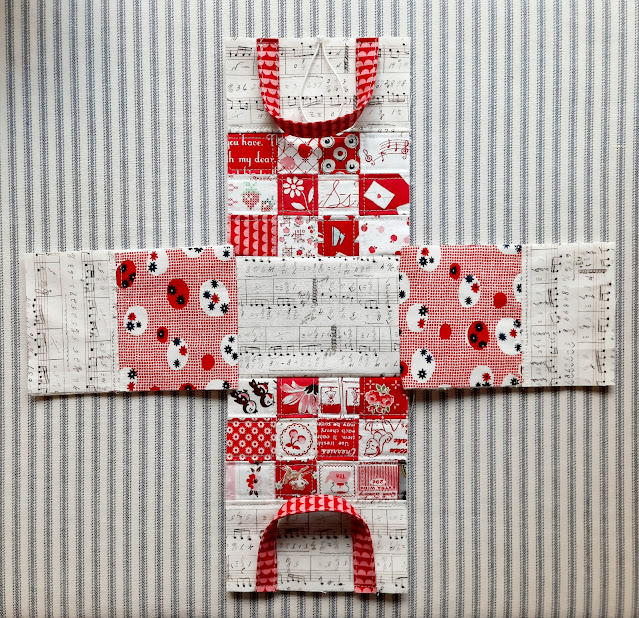
1. Split the A and B squares in half into 2 groups of 12, 4 squares across and 3 squares down, alternating the A and B squares as shown. Sew each group of 12 together. Note: If you are using 2 rectangles, 4 1/2" x 3 1/2" instead, you may skip this step.
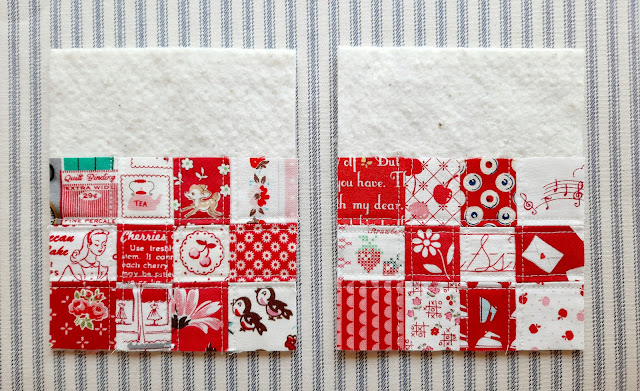
2. Spray the back of each patchwork piece with adhesive basting spray and attach to the lower edge of an H batting rectangle. Quilt as desired.
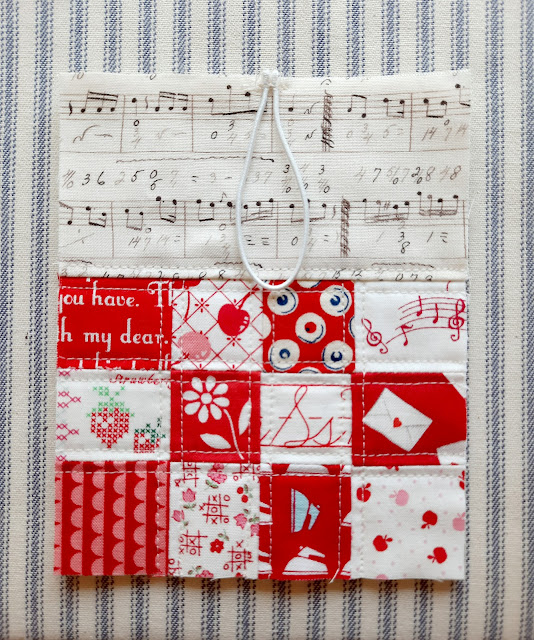
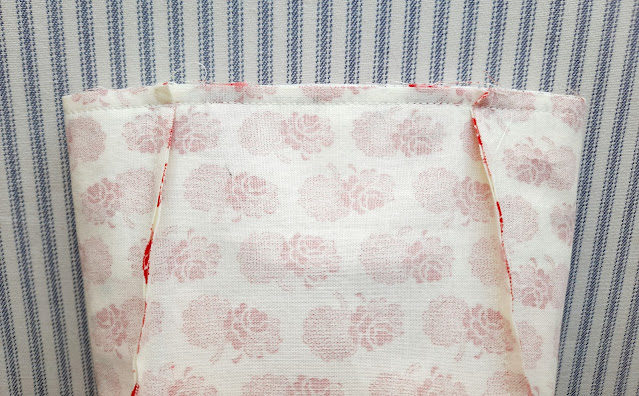
3. Line the lower long edge of a D rectangle up with the top of the patchwork piece from step 2 with right sides together (the D rectangle should be upside down) and stitch them together along the edge (see photo). Flip the D rectangle up and away from the patchwork so that the wrong side of the piece is against the upper half of the batting. Press. Topstitch 1/8" from either side of the seam. Repeat with the other patchwork piece and D rectangle to give you 2 finished main panels.
4. Spray the back of each C square with adhesive basting spray and attach to the lower edge of an I batting rectangle. Repeat step 3 directions, using E rectangles to finish the 2 side panels.
5. Spray the back of the F rectangle and attach it to the J batting rectangle to finish the bottom panel.
6. Fold the elastic piece in half to make a loop, placing the raw edges centered on the top edge of the back main panel. Stitch back and forth over this 1/8" from the edge to hold it in place.
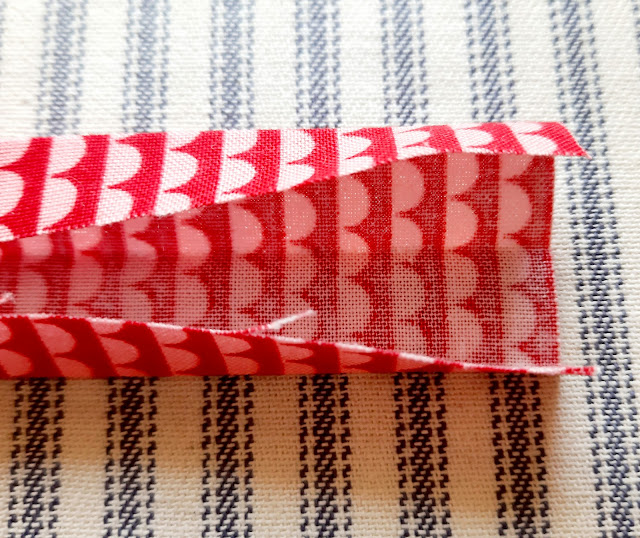
7. Make the handle by folding the G strip in half lengthwise with wrong sides together and press. Unfold and then fold each long edge in to meet in the center and press again. Without unfolding, refold along the first line so that the raw edges are trapped in the middle. (You are actually making double fold quilt binding.) Topstitch along each long edge to hold the sides together and create a strap. Cut the strap in half so that each piece is 6 1/4" long.
8. Use binding clips to hold the raw edges of a strap in place along the top edge of a main panel piece so that the outer edge of the strap is 3/4" from the side edge of the panel. Stitch in place 1/8" from the edge. Repeat with the other strap on the other main panel.
9. Line up the lower edge of a main panel with a long edge of the bottom panel, right sides together, and sew together. Press the seam towards the main panel. Repeat with the other main panel on the other long edge of the bottom panel.
10. Line up the lower edge of a side panel with a short edge of the bottom panel, right sides together. Sew along the lower edge of the side panel first, stopping 1/4" from each corner and backstitching. Do the same on the other side with the other side panel.
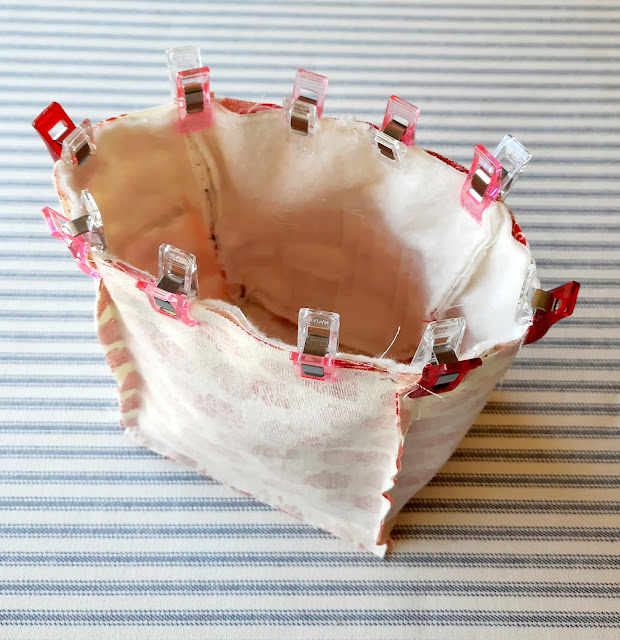
11. Line up the side edges of a side panel with the side edges of the main panels and hold them together with binding clips as well (see photo), carefully matching up the seam that goes down the middle of each panel first. Sew along the side edges, starting at the top of the panel and going just past the 1/4" mark before the lower edge before backstitching. Repeat with the other side panel.
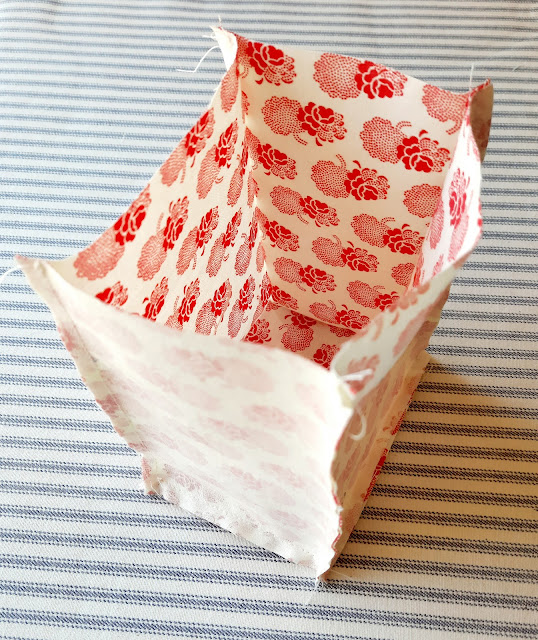
You should now have a finished bag exterior. Turn the exterior right side out.
12. Now repeat steps 9-11 with the K, L, and M rectangles to create the bag lining with ONE EXCEPTION: when repeating step 9, leave a 3" gap in the middle on one side as you stitch the main panel to the bottom panel so that you'll be able to turn the bag right side out.
Do NOT turn the bag lining right side out when you finish this step.
14. Place the bag exterior inside the bag lining so that the right sides are together. Carefully line up the side seams and top edges, making sure that the straps and elastic loop are sandwiched between the exterior and lining.
15. Stitch all the way around the top edge of the bag. Gently pull the bag right side out through the gap in the lining.
16. Tuck the raw edges inside the gap in the lining and stitch it closed, backstitching at both ends.
17. Push the lining inside the bag, press carefully as needed, and then topstitch 1/8" from the top edge of the bag.
18. Center a button on the D rectangle of the front main panel (adjusting the position depending on how tightly you want the bag to close when fastened) and stitch in place by hand.
Now just fill the bag with goodies and share it with someone you love. Enjoy, friends!






.jpg)

